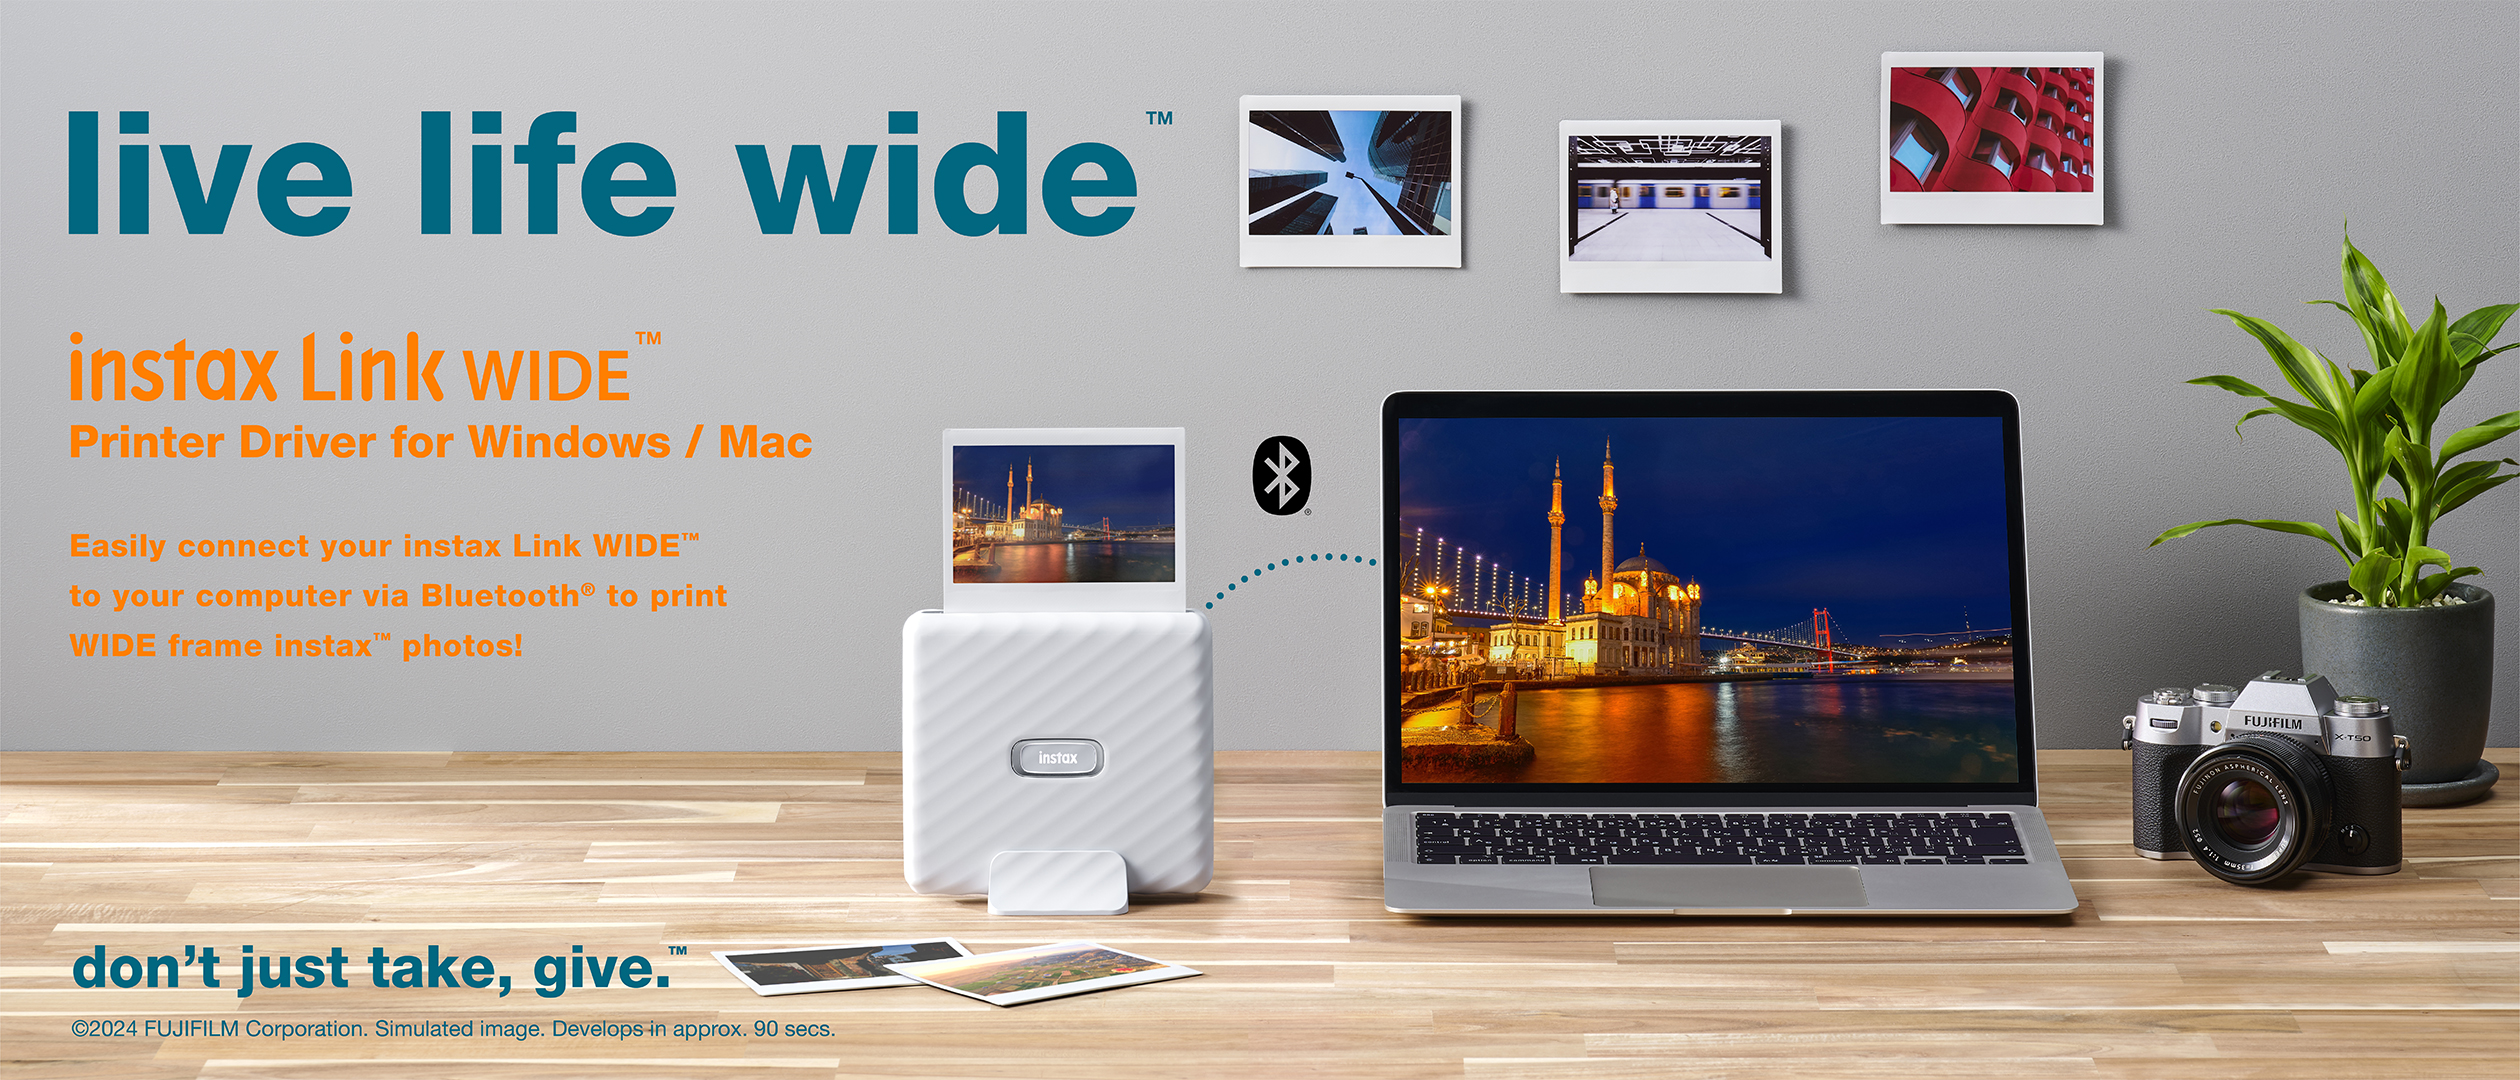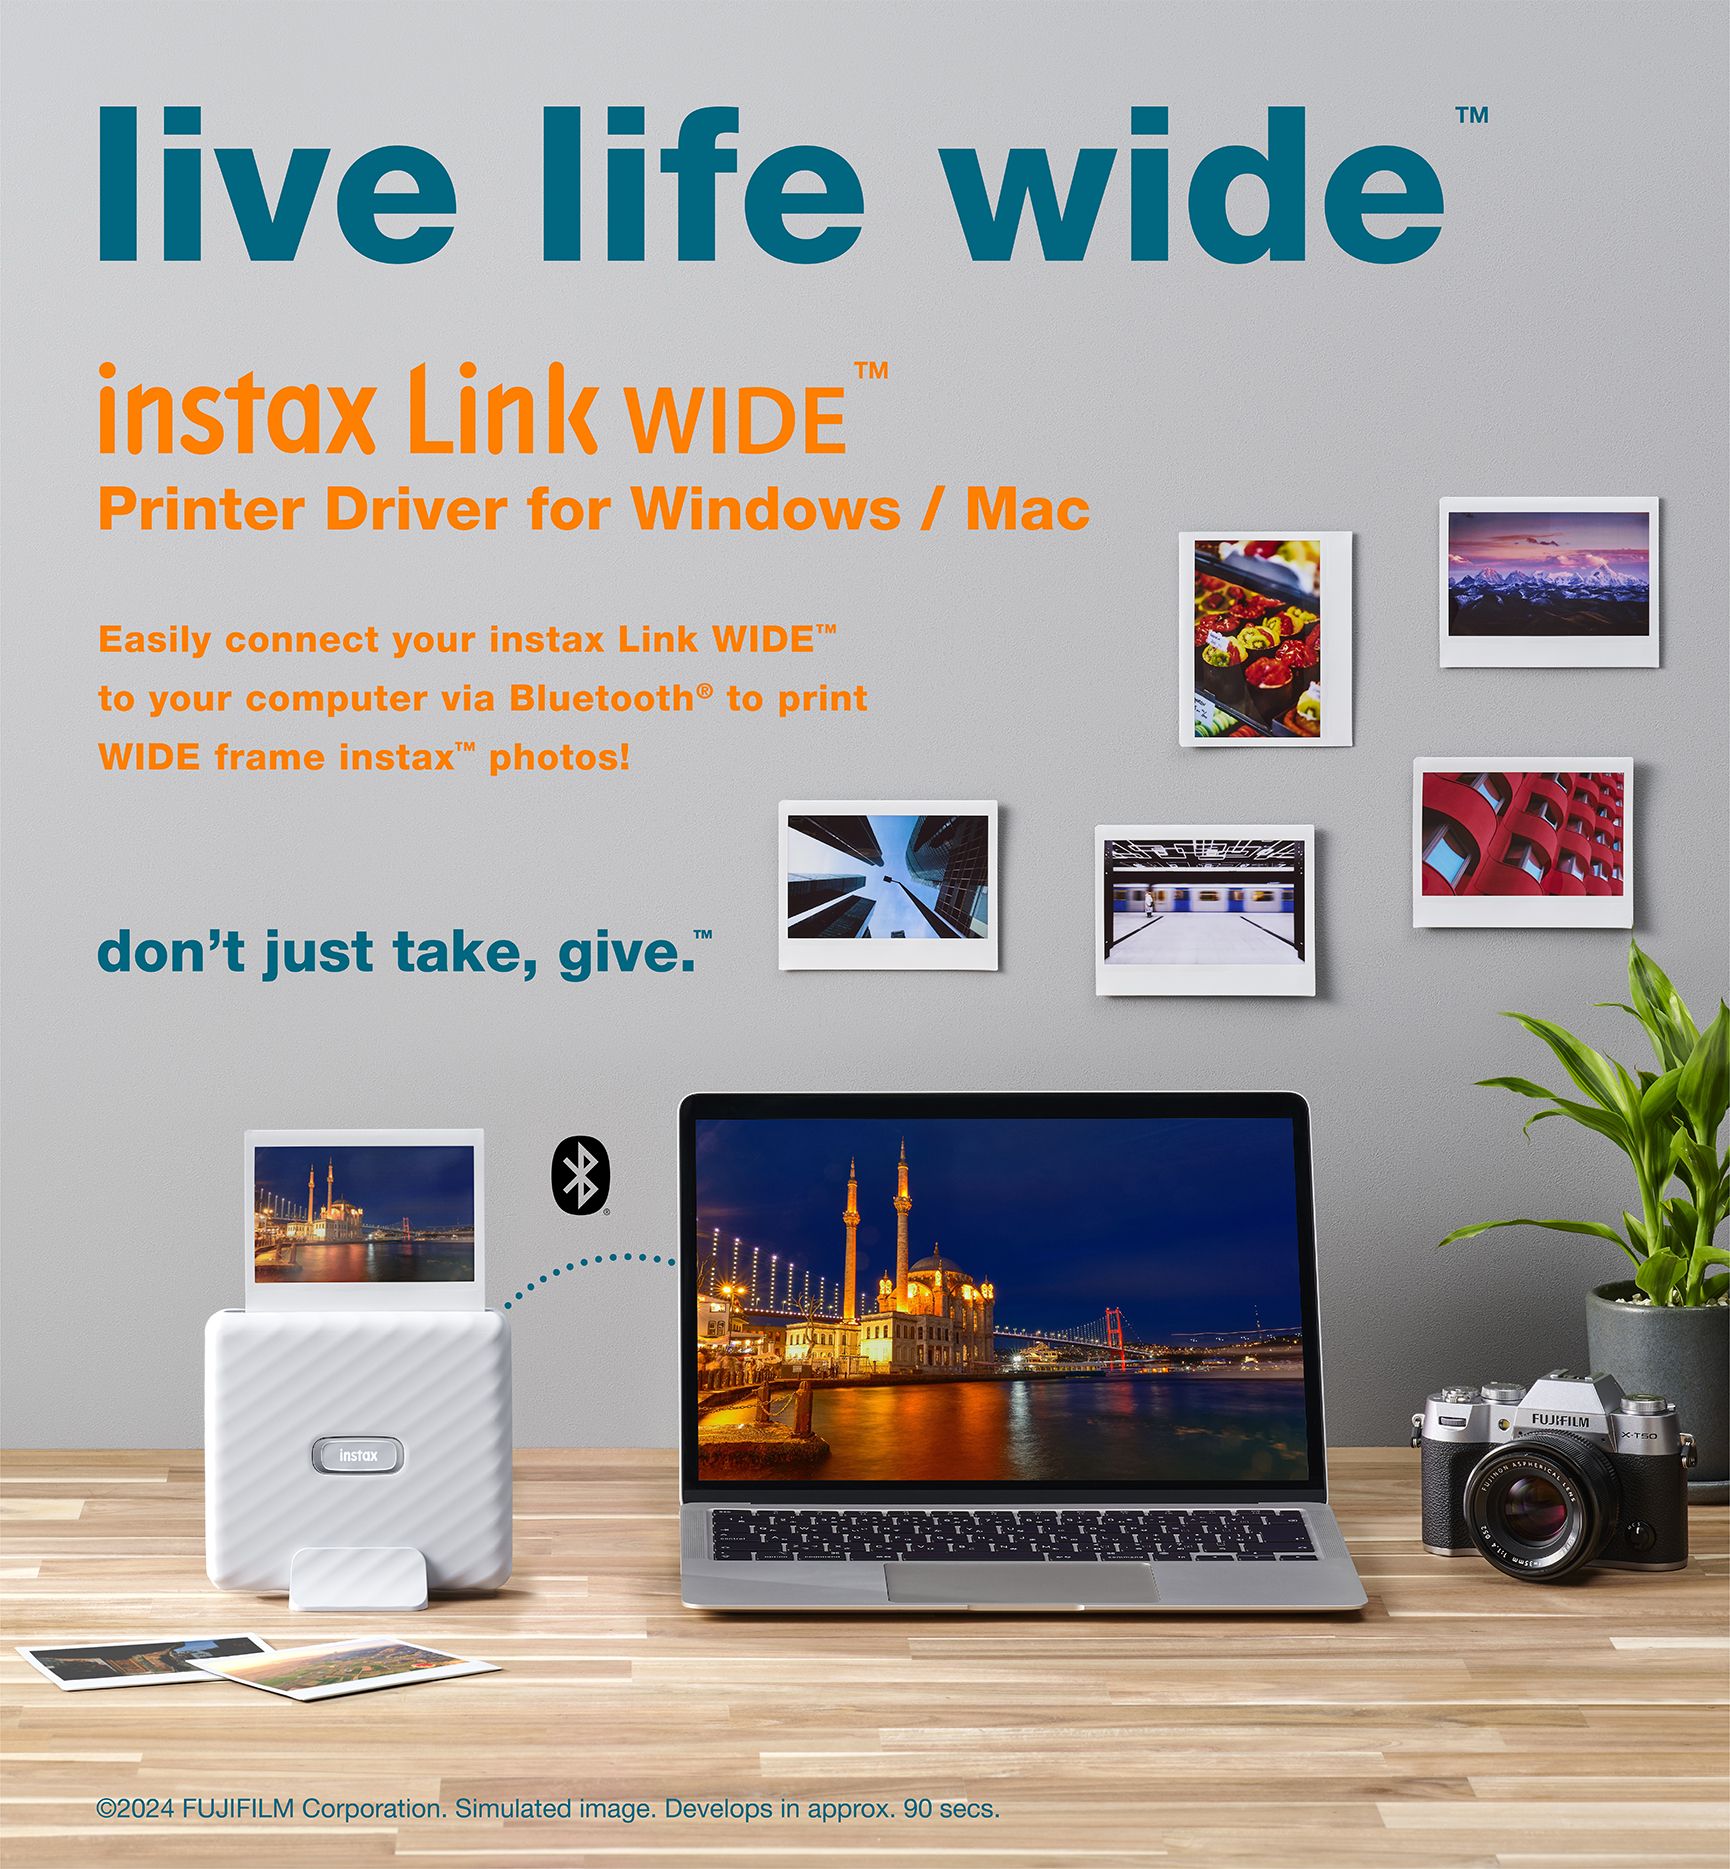

Print your photos, designs or artwork
from your computer via Bluetooth® using the instax Link WIDE™!

* Images of instax™ photos are for illustrative purposes only. Actual photos may vary.
Download the printer driver
How to Install
- 1. Download the printer driver (see below).
- 2. Double click on the driver to launch the installer.
Follow the instructions on the screen.
Operating Environment
- ・ Windows10 (32bit/64bit) Home/Pro 19H2 or later
- ・ Windows11 (32bit/64bit) Home/Pro
Download
Download the printer driver for connection to instax Link WIDE™ from your computer.
Select from the types below.
How to Install
- 1. Download the printer driver (see below).
- 2. Double click on the driver to launch the installer.
Follow the instructions on the screen.
Operating Environment
- ・ Mac OS 10.15
- ・ Mac OS 11 or later
Download
Download the printer driver for connection to instax Link WIDE™ from your computer.
Select from the types below.
How to Print
- ① Turn on your instax Link WIDE™ printer.
- ② Open the image file you want to print using the PC application. Then, set the printer to "INSTAX LINK WIDE Printer Driver" in "Print Settings *1" and click the "Print" button.
- ③ The printer driver dialog box is shown.
- ④ Click the “Search” button, confirm that the printer you want to connect is displayed in the dialog box, then click the connect button (when you print for the first time, only).
Once the printer and computer are connected, “Printer Settings” opens automatically and a "Print Preview *2" pop-up is shown.
*1 The image displayed in the "Print Settings" of the PC application is different from the actual print area. Please note that you can check the actual print area on the "Print Preview" in step ④.
*2 "Print Preview" on the "Printer Driver" will display actual print area. Confirm the print area and click "OK" button. Please note that click "Cancel" button in the dialogue box and adjust the print area on the PC application if the area you want to print is not included in the "Print Preview".
Print screen ( Windows photo )

③ Dialog box

- ⑤ Adjust settings as needed.
Print settings

- ❶ Image quality mode: Choose between “instax-Rich Mode” for a deeper expression of color, and “instax-Natural Mode” for softer textures.
- ❷ Print preview: Click the print preview button to see what your print will look like with an instax™ WIDE frame.
- ❸ Copies: Choose how many copies of the image to print.
Color Adjustment

- ❶ Adjust parameters: Six parameters can be adjusted (cyan, magenta, yellow, brightness, contrast and saturation).
- ❷ Save settings: Check this to lock in adjustments you made and reflect them in your next print as the default.
- ⑥ Click “Print” in the dialog box to transfer image data to the printer.

- ⑦ The dialog box closes automatically when printing is complete.
- *The Bluetooth® word mark and logo are registered trademarks of Bluetooth SIG, Inc. and FUJIFILM Corporation uses these under license.
- *Windows is a registered trademark of Microsoft Corporation in the US and other countries.
- *Mac is a registered trademark of Apple Inc. in the US and other countries.
- *The Copyright Notices for the Software and Documentation read as follows:
Portions Copyright © 1998/2024 Artifex Software, Inc.
This software is based in part on the work of the Independent JPEG Group.
Portions Copyright © 2001 URW++.
All Rights Reserved.
- *The Trademark Notices for the Software and Documentation read as follows:
Artifex, the Artifex logo, Ghostscript, the Ghostscript logo, MuPDF, the MuPDF logo, SmartOffice, and the SmartOffice logo, are registered trademarks of Artifex Software, Inc.
PostScript is a trademark of Adobe Systems Incorporated.
PCL is a trademark of Hewlett Packard Company.
XPS is a trademark of Microsoft.